Do you ever see things, and they are just not what you want them to be? That is how the Lobstah sweater was born. June 18, 2021 an adorable baby sweater showed up on my Instagram feed and I thought… I want to wear that!! A striped sweater with raglan sleeves, three shades of stripes and a fantastic lobster duplicate stitched on the center of the sweater does not have to be for a baby!!
In June of 2021, I wasn’t anywhere near the beach and wasn’t thinking about turning that adorable design into an adult garment. So I tucked that carrot away… relegating it to the dusty corners of my mind. Now fast forward to November 2022 and I am headed to New England to work. I spend the winter trying to get outside, walking on the beaches of Maine in the cold wind with my pup and I need that Lobstah sweater. And before I know it I am charting a Lobster for a stranded knitting style and knitting a yoke.
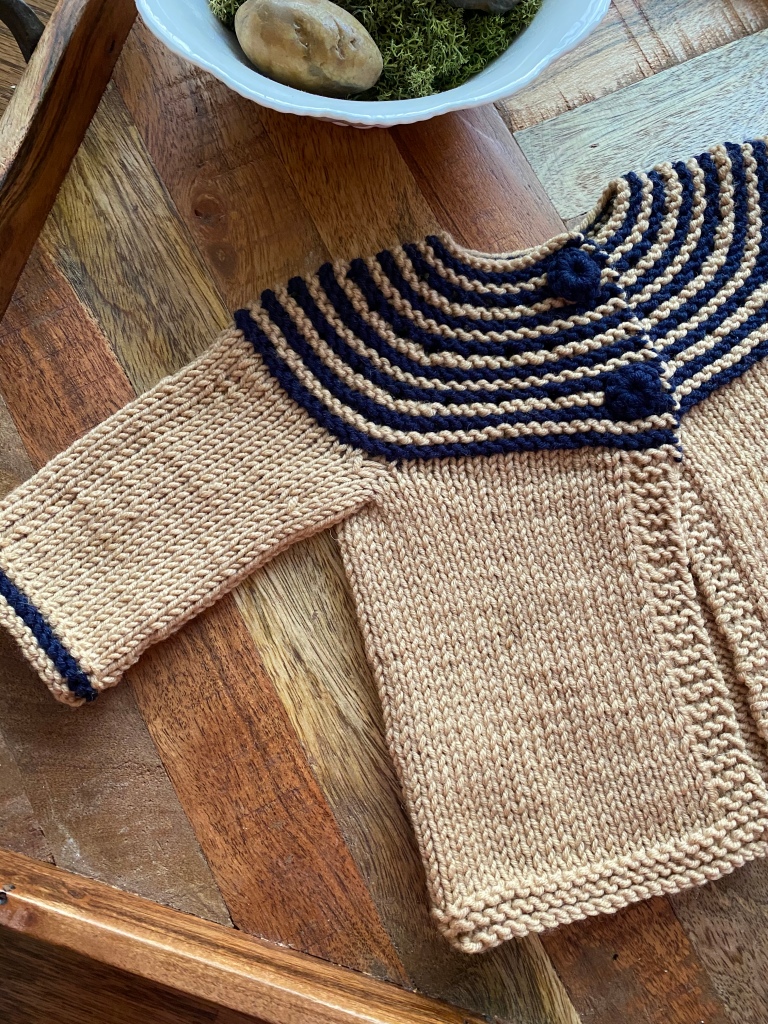
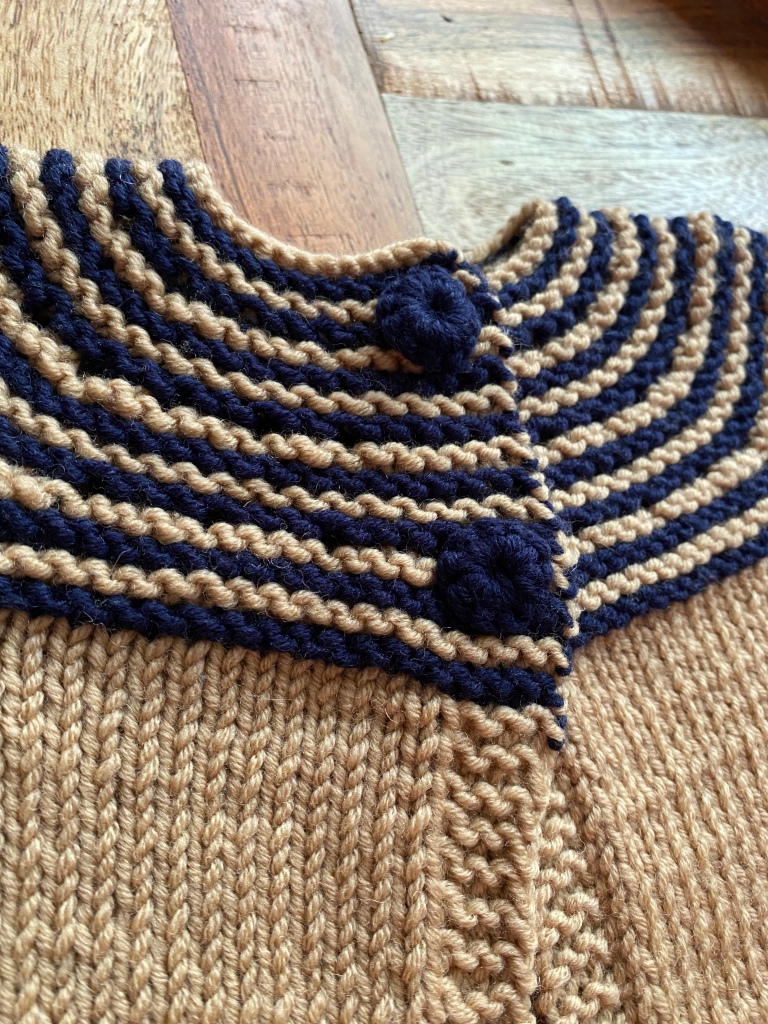
The three color stripes had been simplified to a traditional two color nautical Breton stripe. The look is a staple in my own wardrobe. The lobster had to be the “ Just Cooked” red. No variation in shade was going to do. Once the sample yoke was complete and I was mentally married to the Americana color scheme of Red White and Blue I ordered yarn and cast on for the real thing.
With every stitch I imagined myself walking on the beach enjoying the cool breeze off the Atlantic as the morning summer sun began warming the sand. Splashing in the waves and looking for sea glass all while wearing this cozy sweater. It was the dream of the perfect vacation morning. The Lobstah Sweater embodies that whimsical quality of the seaside in New England. A little kitch and a lot of tradition served with a side of drawn butter.
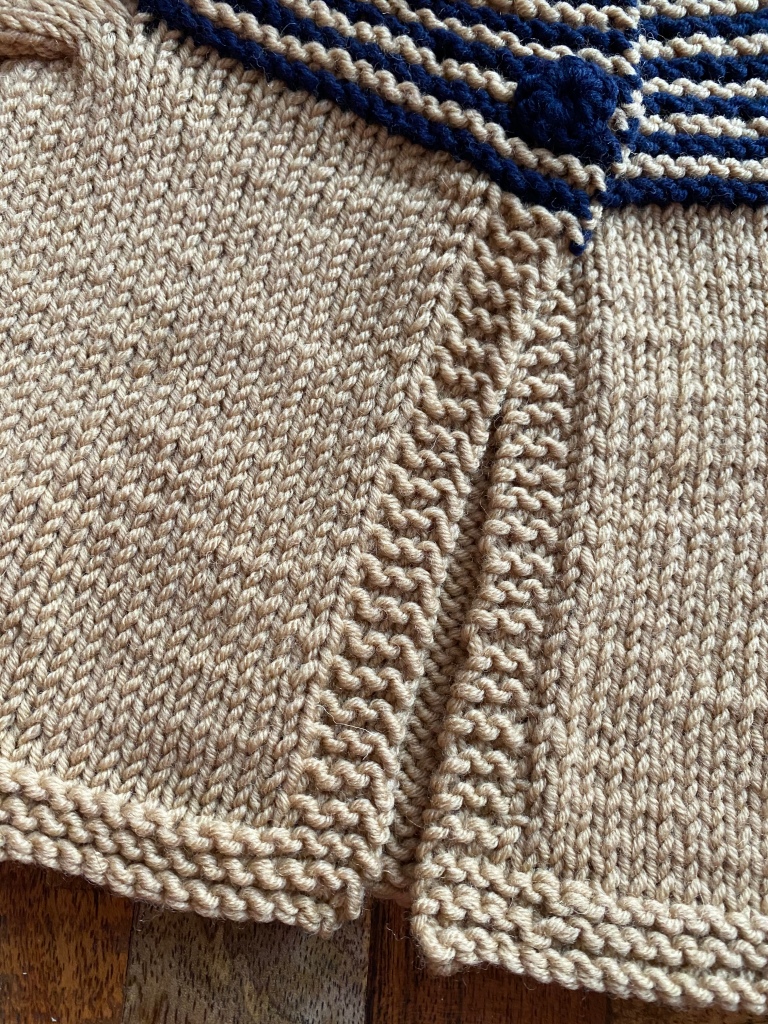
The Lobstah Sweater is designed for Sport or DK weight yarn and knit at a generous 20 sts over 4 inches gauge. I used Juniper Moon Farm Patagonia, an organic merino wool yarn with 382 yards in 100g skein. It’s widely available in LYS stores across the US and Europe. The sweater begins at the neck with a short rib collar and utilizes some short rows to keep the crew neck from being too loose. The Lobster chart is worked from the tail to the claw down the yoke to the underarm. Once the yoke is complete the sleeves are divided off and it is simple stripes from there on out. Top down construction lets the knitter add length in any area to get the shape and fit that is desired. The sleeves are designed with a smaller number of decreases and at a slightly longer length so that the cuff gives the sleeve a casual feel. The body is knit straight to fit like a favorite sweat shirt.
You can find the Lobstah Sweater Pattern here and there is always a chance you will see it being worn at Long Sands Beach in York, Maine any time the breeze is blowing.