Welcome Summer Light

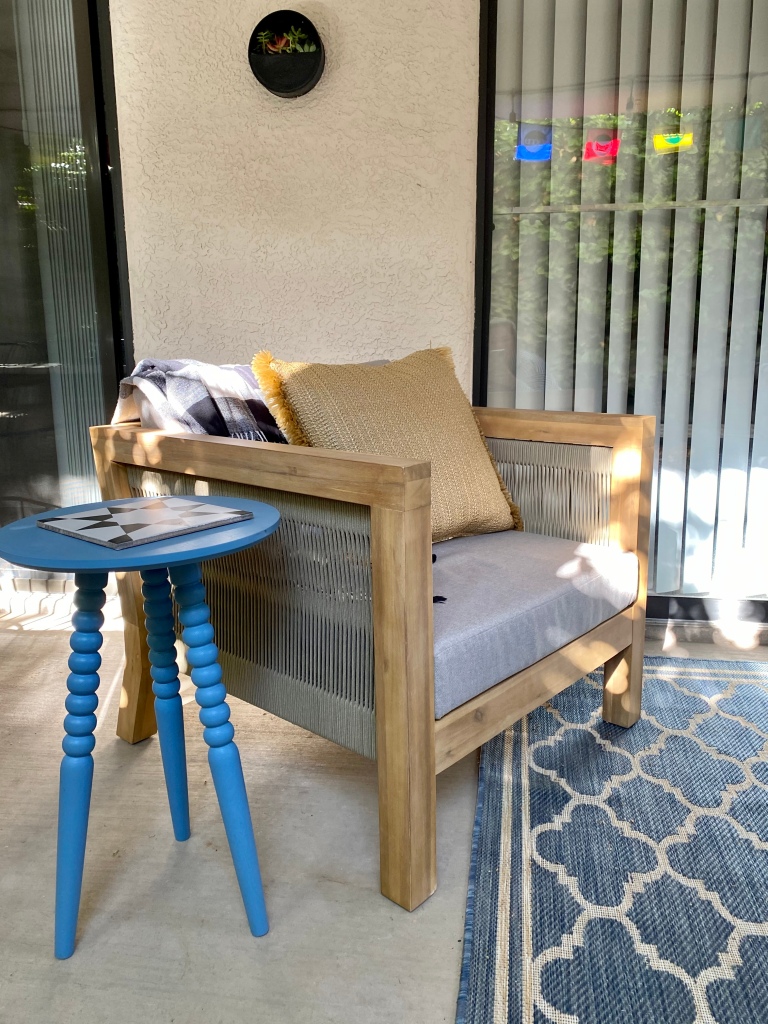
It’s almost July and with the exception of the cool weather we are having in Albuquerque right now I think most of us in the Northern Hemisphere have been melting for months. Not to mention those places that have actually been on FIRE!!

Summer is a harder season for Knitters. It is hard to stay motivated to hold onto wool when your are already warm. Did you know that wool breaths better than most fibers. It stays dry to the touch and can hold up to 30% of its weight in water before it even feels damp? Those are much better stats than my favorite cotton tee!

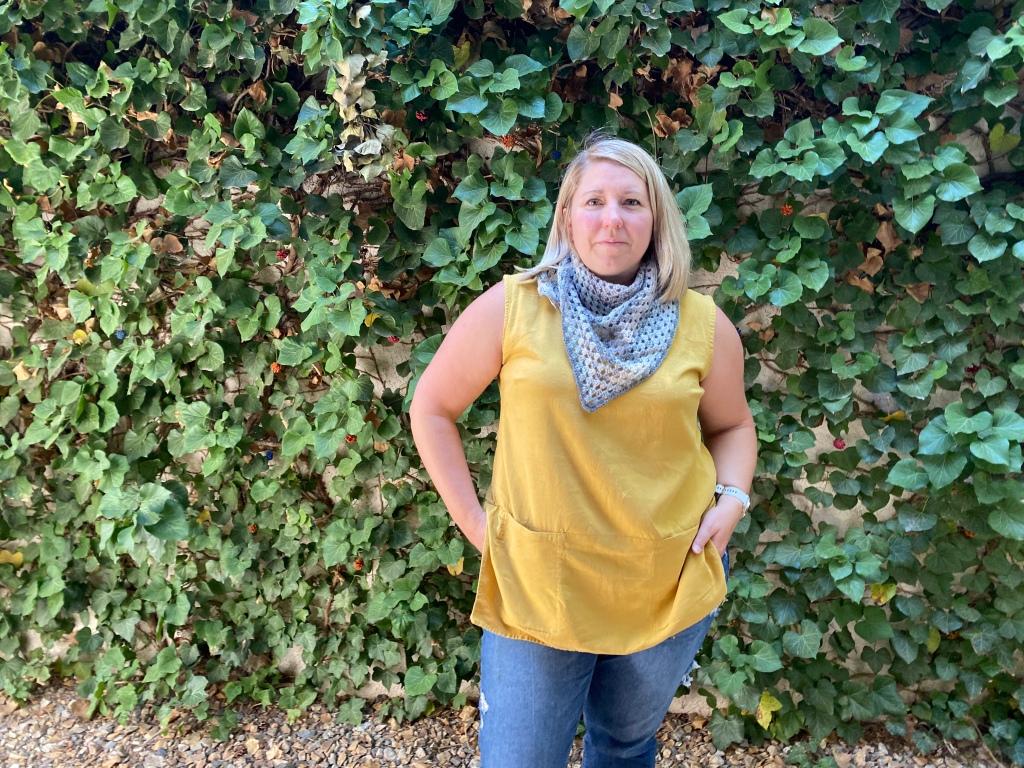
So with the idea in mind that I want to be wearing the least amount of clothing, while still maintaining some level of modesty I designed Summer Light .

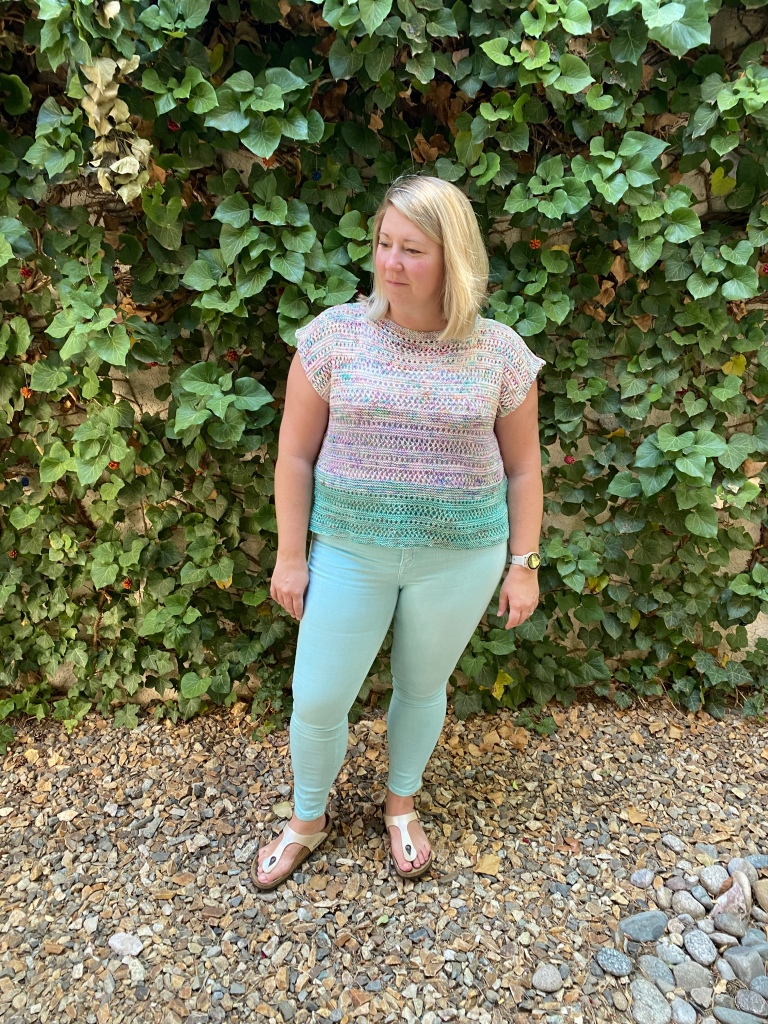
Made with The Fiber Seed Sprout Sock, this top is light and vaguely silky. It is delightful to wear next to the skin.( I styled it here over a very light tank top and with some turquoise jeans from Vineyard Vines.)

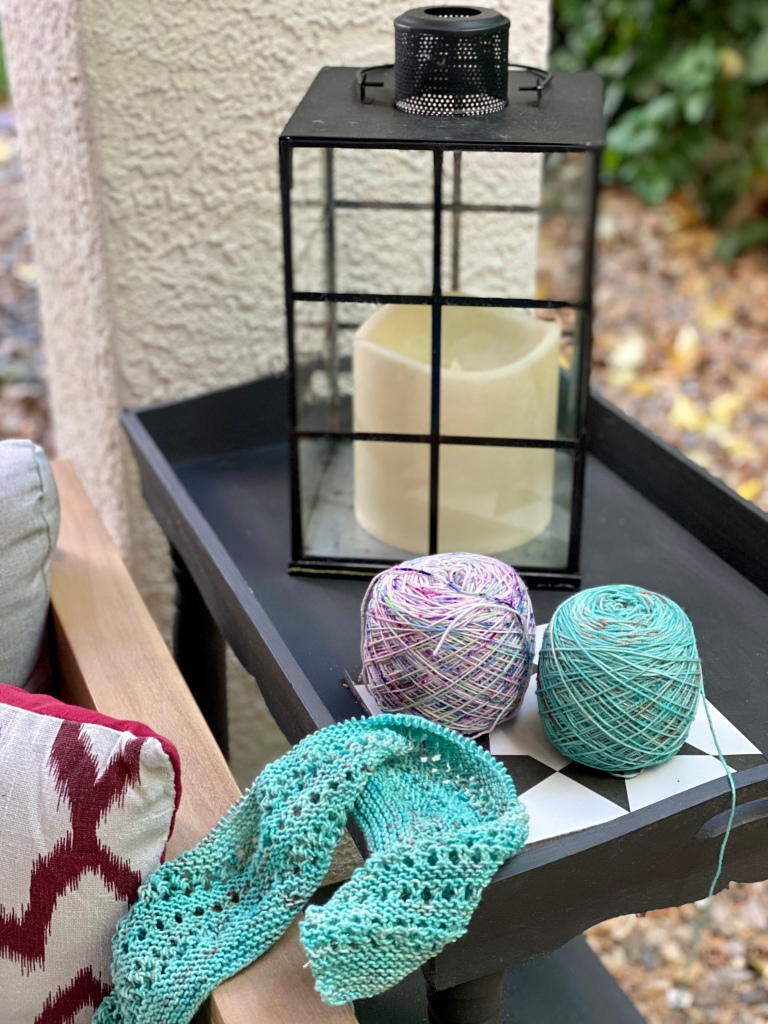
I selected three colors shown from top to bottom Shell factory, Sidewalk Chalk and Mermaid Tale. Lindsay, the dyer and color designed over at The Fiber Seed designed all three of these colors from classics from childhood summers. They all blend together like a beautifully cool soft serve ice cream, a delicious cocktail or those brilliant summer skies. I could not be more happy with the outcome.

This top was fast to knit too – the front and back are identical. Deigned with positive ease the top naturally wants to hang loosely from the body and that drape in the fabric creates the cap sleeve look. The repeating eyelet lace patterns are easy to memorize and make it east to match up the sides for seaming.

What are you looking for this summer to round out your wardrobe? I hope you will whip up a top for yourself. I am headed off to work on a single color version now.

Summer of Crochet: The UBE Shawl

No joke… Monday came roaring in. I have been meaning to tell you all about my favorite crochet project to date for the better part of a week. But here we are… fresh week and fresh discussion for Crochet!!

The UBE shawl is a pattern you can easily locate on Ravelry. Using chain stitch and double crochet this is a fantastic project to work while enjoying another activity. There is very little concentration needed once the pattern is established.

I chose Queensland Perth, an affordable and fun color changing wool bend sock yarn and my trusty G crochet hook. I have two versions to share with you :

The Grey version is a yet to be released colorway ( Ask for it in your LYS starting in August). I only had one skein to work with, but I wanted to see how far one skein would go. Honest truth: Pretty darn far!

I think the difference across the top edge is only 12”. For the second version ( which was actually the 4th one I made) I had two skeins of Perth in the color Rainbow Reef. I LOVE this shade of yarn. It was captivating to watch the colors work their way across the shawl with the warm rich tones developing.

Now so you can really see how different the shawls are here are two pictures to compare.

My photographer was only partly cooperating during this shoot. Since she is 10, I will let it slide.

The Grey version is smaller, and much closer to my neck. It is a lovely size and I envision tucking it into the neck of a vest or jacket on a hike. It does not lend itself to styling many ways, but it is fantastic. The single skein price on this yarn is $13-$15 dependent on the retailer. For the money, I think it is a great project.

You can see that with the Rainbow Reef two skein version I have much more shawl to drape around my neck. The tails of the triangle feel much more secure as they are longer and the fabric drapes more toward my shoulder. I am pretty busty, so this two skein version is more my size. I will be styling this with dresses and tops all Fall… but until the weather breaks and its not within 10 degrees of 100, I will be letting both of these projects enjoy the AC in my closet!!

Have you tried your hand at Crochet? I would love to hear about your favorite patterns. Feel free to share them in the comment section! I always appreciate a good recommendation.

Summer of Crochet: Buttons

Would you like to add some crochet to your crafty repertoire? Why not start small? Crochet stitches are pretty easy to learn, so if you are already a knitter or a novice crocheter this is a perfect place to start.

This button fixation all started when I was visiting Gauge in Austin Texas a few months ago, and was quite taken by a lovely sample sweater that had adorable matching buttons. Imagine my surprise when Melissa told me she had made them… with the yarn left over from the sweater.

WOW! If I can finish a project and have the perfectly matching buttons that are not only kid friendly but washable and essentially FREE… I am completely sold. I do love a good decorative button. I have a stash of them actually and I never ever seem to have the buttons that I need. Making buttons is the ideal answer for me.

I found this quick little YouTube video that gave me all the tips and instruction I needed to make a very basic button. Grab some scrap yarn and any crochet hook you have on hand to give it a try. I do suggest making a big button first, so it is easier to see the steps.

The only stitch you need to be familiar with at this point is a single crochet. It is the only stitch used in this button.

I used three different yarns shown below to make the same button.

You can change the thickness of the finished button based on the number of loops you use to form the base form as well as the number of layers of single crochet stitches you use to cover the base loops. The third way you can change the style of the button is adding a single crochet round to the outside edge of the button. This adds a little ruffle or petal element to the button. ( shown above on the dark and medium blue buttons to the right)

I suppose you could even add some chain stitches and make this into a little flower detail?!

Best of all, when you use the same yarn that constructs the button to stitch it down to your project, there are no visible stitches. All very elegant and well planned!! Give it a try, I would love to hear what you think.

Summer Of Crochet

Before I learned to knit, I learned to Crochet. I was a small kid, sitting in my mom’s bed while she was expecting my brother and I needed to keep busy and quiet. She taught me to crochet, starting with the simple chain and with some acrylic yarn. I crocheted chains for what seemed like a long time and long length… and when I lost interest that was exactly where I left it.

10 years later and a few less memorable lessons with my mom and Granny Jane, I had managed to learn to single and double crochet. I made a wrap and maybe crocheted a little blanket for a doll, but that was the end of my time crocheting.

Last Fall, I offered to crochet some swatches for Lindsay at The Fiber Seed and was quite bitten by the crochet bug. It was different and didn’t feel like work. Crochet seemed like a special something that I could do just for fun.

Now fast forward to April, and the kickoff of “Crochet-pril” hosted by my friends at Stix. Watching the Stix instagram feed and that lingering tickle that had persisted after crocheting swatches and I was ready to try my hand at creating a full something in crochet.

I was just getting back into traveling for work, and stopped to visit Carriage House in Kingsport, Tennessee. Terri shared some of the most achievable and approachable projects using fun and affordable yarns like Queensland Perth and Rainbow Beach. I was unbelievably motivated to try to make something that I could share with fellow yarn lovers who just don’t knit.

I dove into my sample yarns and dug through my notions bag to find the spare crochet hooks that hung out for seaming knit sweaters. I had a reasonable combination on hand, so I started on the UBE pattern from Ravelry. This free Double Crochet, half granny triangular shawl would show off the color changing summer yarn Brighton Beach, also from Queensland Collection exceedingly well. And after a few days… I had a brand new shawl. Not the normal week or more for working on a knit shawl. It. Was. Fast.

The crocheting has not slowed down since… spurred along by the glorious Kristy Glass and her “Crochet in May” … I have made 5 shawls, dozens of granny squares that will eventually be assembled into sweaters and even a few buttons. There is so much to share, but each project deserves its own post. So here we go, I declare this the Summer of Crochet. Interspersed with knitting and travel, I will be sharing all my crochet adventures and successes along with a heaping portion of tips and tricks that I have picked up along the way!

The Unexpected Sweater Round Up: Things I learned while knitting a FREE baby sweater.

First of all – everyone should know right away that I am not expecting a baby. I love babies, would gladly take one if God sent one my way. But at this point in my life and after specific worldly intervention it would 100% have to be a Devine Delivery.

Never the less, I cast on a newborn sized baby sweater to add to my work kit. I was inspired to pick a small garment by my friends Tracey and Cameron up at Stix in Bozeman, Montana. They have been using baby sweaters to teach sweater knitting skills. Novel idea! I know how to knit sweaters, and have designed some of my favorite that I wear … but the thought of finishing something cute and quick felt right.

I had this lovely yarn, Ciao by Jody Long that I adore, on hand and in need of attention. I have made a few hats in my Doodle pattern, but I felt like this washable 100% Extra fine merino wool yarn from Italy needed a sweet and simple little pattern that would entice knitters to try a new staple yarn and venture away from the OG stand ins for babies.

I picked the Gidday Baby sweater from Ravelry for two primary reasons. 1) FREE PATTERN 2) SUPER CUTE !!

Like I said earlier, I don’t have an actual baby that I am knitting for. I just wanted something small and sweet. I downloaded the pattern and cast on right away after assessing the color selection that I had on hand. In lue of choosing something creative like the magenta and mint I had my eye on I went with Latte and Navy – very similar to the model pictured in the pattern. The colors are gender neutral and classic. Perfect for a sample garment intended to sell yarn.

Since the two primary requirements were met for my sweater knitting, I cast on and went right to work with the prescribed needle. There is no fancy lace or shaping detail to this sweater, garter stitch yoke and stockinette body. The button band worked in line with the body of the sweater for minimal finishing. This would be the exact recipe for a quick and painless knit. But low and behold… I learned some pretty helpful tips along the way! I have broken them down for you as follows.

Lessons:

  1. Using one size smaller needle for the garter stitch yoke keeps the sweater from looking to bulky. The weight of the fabric looks nice with the stockinette.
  2. The yarn over (YO) increases make a lovely detail in the yoke of the sweater.
  3. Knitting front and back in the stitch just before and after the arm separation keeps those stitches from being pulled and becoming distorted.
  4. Slipping one stitch with yarn on the pubic side of the sweater before or just after the garter button band keeps the band balanced in the fabric. It prevents the band from feathering out or additionally looking distorted. This was a big one for me!!
  5. Picking up extra stitches at the underarm when beginning the sleeve will prevent those pesky holes that we end up stitching shut. Now, I do this on my own knitting… but have never seen it written into a pattern before!
  6. Crochet Buttons… I had so much fun with these that I have a whole post planned. Check back soon!!

This little spur of the moment cast on has been very fulfilling, illuminating and joyful. I had no idea that I would learn so much from such a quick little project. Have you ever been surprised by what you have learned in the process of making?

The yoke detail won my heart- I love garter stitch stripes!

You can’t really see the slipped stitches next to the garter button band, but they make all the difference in keeping the button band neat and tidy.

Places To Knit: Patio Edition

We recently moved back to Albuquerque, NM. I couldn’t be more excited to be back in the heart of the Southwest. The city is really lovely, full of blending cultures, tastes and sounds.The weather in Albuquerque is fantastic. There is so much sunshine, the winters are never overly harsh, and there are very few rainy days. Being able to enjoy the outdoors is one of the many things that drew our family back to the city. It fills my heart to call Albuquerque “Home!”

Despite the few stumbling blocks that we faces with moving trucks and new homes, the family is now settled. Our home has a great patio space off the living room and master bedroom. There is an ivy covered retaining wall, and some rock details. I knew that the patio would be important to us enjoying the outdoors. When we lived here over a year ago I was not able to make our outdoor space exactly what I wanted. Now with the pandemic, and with limited availability of products as well as the general cost of things increasing I was worried that having a cozy family friendly patio would not be an option this summer. I had watches prices on outdoor furniture and had saved over the early part of the year (after ski season, of course) to be able to invest in something for our home. I had a few requirements that were limiting too:

  1. NO PLASTIC!!!
  2. Comfortable for all our family, ranging from 4ft 9 year olds to 6ft tall dads.
  3. Exceedingly sturdy and classic looking
  4. Something that could be added to and recovered. (My parents have had the same outdoor furniture for 30 years and Mom just changes the cushions to keep it fresh and exciting)
  5. Perfect for knitting.

AH, yes. Knitting. I wanted to create a space outdoors where my creativity would be sparked, I could enjoy my biggest source of inspiration and still be with my family. I do have a spot in the house where I sit and knit. I love it too… but to be outside, sipping coffee in the morning and enjoying the first few rounds of a project is this side of Heaven in my mind.

I would not only need a comfy spot to sit , but would need some clever table to catch my skeins of yarn. I would need a really good coaster and lots of pillows for just the right elbow support. Here is what I came up with:

A sunny sofa spot for knitting.
My latest summer design on the needles, resting on the yarn corralling side table. I picked up these $1 tiles at Lowes to be over sized coasters too!

The side chair, perhaps my second favorite spot for knitting. These pieces of outdoor furniture solid wooden structure with rope details. Very sturdy… I hope I can get 30 years out of them just like Momo.

The side tables ( of which I picked up two) came from Home Goods.

We also love to dine and do computer work on the patio. So here is how I have repurposed a beloved IKEA table from the old New River Fiber CO. Days…